Choosing the Right Microphone for Your Needs
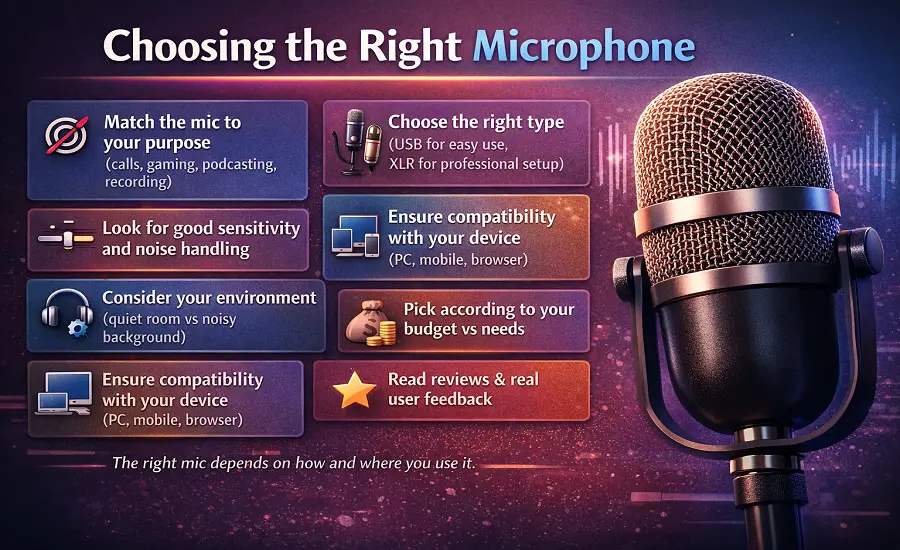
The right microphone depends on what you are recording, where you are recording and how you plan to connect it. A microphone that sounds perfect in a quiet studio may perform poorly in a noisy home office. This guide helps you match your use case, environment, pickup pattern and budget to find the microphone that actually delivers the results you need.
🎯 Identify Your Purpose
Selecting the right microphone can make or break your audio setup. Whether you're recording vocals, streaming live or producing a podcast the right mic ensures your voice sounds clear, natural and professional. Before buying a microphone, think about how you plan to use it.
- Live performances: A dynamic microphone is your best choice. It's tough to handles loud volumes well and resists feedback.
- Studio recording: A condenser microphone captures fine details and subtle tones for making it perfect for vocals and acoustic instruments.
- Interviews or video recording: Lavalier mics (clip-on) or shotgun mics work best because they're discreet and pick up focused sound.
Knowing your purpose helps you narrow down the options and avoid overpaying for features you don’t need. Once you’ve chosen the right microphone, understanding why microphone testing matters ensures it actually delivers the sound quality you expect in real-world use.
Consider Connectivity and Setup
Your recording setup also determines which type of mic fits best.
- USB microphones are ideal for beginners, streamers or remote workers since they connect directly to a computer.
- XLR microphones are the go-to for professionals, offering superior sound quality and more control when paired with an audio interface or mixer.
After connecting, make sure the correct microphone is selected in your system settings to avoid input issues.
Check Polar Patterns and Frequency Range
The polar pattern defines how a microphone captures sound.
- Cardioid mics focus on sound in front of the mic which minimizing background noise.
- Omnidirectional mics pick up sound from every direction makes it great for group settings.
- Bidirectional (figure-8) mics capture from the front and back which is ideal for interviews.
Pay attention to frequency response as well as some microphones emphasize higher tones for vocals while others balance lows for instruments.
🎤 Microphone Types Beyond Dynamic and Condenser
Dynamic and condenser microphones cover most recording situations but they are not the only options. Ribbon microphones like the Electro-Voice RE20 produce a warm and smooth tone that suits voice and instruments in controlled studio environments. Lavalier microphones clip to your clothing and stay out of frame which makes them essential for interviews, presentations and vlogging. Shotgun microphones like the Sennheiser MKE 400 capture focused audio from a distance which is why filmmakers and outdoor creators rely on them.
Wireless microphone systems like the RØDE Wireless GO II give you freedom of movement without cables. They work well for YouTube content, live events and mobile recording with an iPhone, Android phone or iPad. Headset microphones are another practical option for gaming, customer support and video calls where hands-free operation matters. Each microphone type solves a specific problem so understanding your situation helps you pick the right category before comparing models.
🏠 Match the Microphone to Your Room
A condenser microphone captures fine detail but it also picks up every sound in your room. In an untreated space with hard walls, tile floors and no soft furnishings a condenser will record distracting echoes and reverb along with your voice. A dynamic microphone like the Shure SM58 or SM7B is a safer choice for noisy environments because it rejects more background sound by design. If the room is the problem then solving it with the right mic type is faster than buying acoustic treatment.
For a quiet and treated room a large-diaphragm condenser from Audio-Technica, RØDE or Neumann will capture the full range of your voice with rich detail. Small-diaphragm condensers work better for acoustic instruments where transient response and accuracy matter more than warmth. Matching the microphone to the room ensures your recordings sound natural from the start. For setup and positioning guidance check our guide on how to improve microphone quality with proper room adjustments.
📋 The Microphone Specs That Actually Matter
Frequency response tells you the range of sounds a microphone can capture. A flat frequency response reproduces all tones equally which works well for instruments and reference recording. A shaped response with a presence peak around 3 to 5 kHz adds brightness and clarity to vocals which is why many podcast and streaming microphones use this curve. Check the frequency response chart before buying to confirm the microphone matches your intended sound source.
Sensitivity and self-noise determine how quiet a microphone can be without adding its own hiss. Lower self-noise numbers mean cleaner audio especially for quiet speaking voices and soft instruments. Max SPL tells you how loud the source can be before the microphone distorts. If you record drums or loud vocals then you need a microphone with a higher max SPL rating. These specs matter more than brand name when choosing between two microphones in the same category.
🎵 Match the Microphone to Your Voice
Every voice sounds different on every microphone. A microphone that adds warmth through proximity effect may suit a thinner voice but make a deep voice sound muddy. Condenser microphones with a presence boost work well for soft and clear speaking voices used in voiceover and narration. Dynamic microphones tend to smooth out harsh tones which makes them a good match for voices that naturally sound bright or sibilant.
The only reliable way to know how a microphone sounds with your voice is to test it. Record a sample of your natural speaking voice and listen back through headphones. Compare how different microphones handle your tone, volume range and speech patterns. Professional studios and demo rooms exist for this reason but a browser-based mic test gives you a quick starting point before making a purchase.
🧰 Accessories That Change the Result
A good microphone paired with the wrong accessories can still sound disappointing. A boom arm holds the microphone at a consistent distance from your mouth and keeps your desk clear of clutter. A pop filter placed 2 to 3 inches from the capsule blocks plosive sounds from P and B words that create low-frequency thumps. A shock mount absorbs desk vibrations from typing and mouse clicks that would otherwise travel into the microphone.
For XLR microphones an audio interface is essential. Models from Focusrite, Audient and Universal Audio provide clean preamps, phantom power (48V) for condenser mics and headphone outputs for low-latency monitoring. Make sure your cables and connections are secure because loose microphone connections can cause intermittent dropouts and crackling that mimic hardware failure. Good cables are an inexpensive investment that protects your entire signal chain.
💰 Budget and Upgrade Path
Entry-level USB microphones between $50 and $100 like the Audio-Technica AT2020 USB or RØDE NT-USB Mini offer excellent quality for video calls, podcasting and streaming. These are plug-and-play on Windows, macOS and most smart devices which means no extra gear is needed. For most remote workers and beginner creators a quality USB microphone is the best starting point without overcomplicating the setup.
Mid-range XLR options between $150 and $400 like the RØDE PodMic, Shure MV7 or Elgato Wave:3 offer more flexibility and better long-term value. Pairing an XLR mic with a dedicated audio interface gives you physical gain control and room to upgrade individual components over time. If you run into common microphone problems after purchase then most issues are setting-related rather than hardware faults. Starting with the right budget tier prevents frustration and unnecessary returns.
✅ Test Before You Commit
Specs and reviews only tell part of the story. The final test is how the microphone sounds with your voice in your actual space. After connecting a new microphone run a quick browser-based mic test to confirm that microphone access is allowed and that your system recognizes the device. Record a short sample and listen through headphones to evaluate clarity, background noise and overall tone.
Compare your test recording against a sample from your previous microphone to hear the real difference. Pay attention to whether the new mic adds warmth, brightness or neutrality to your voice. If the sound is not what you expected then small adjustments to distance, gain and room treatment often fix the problem. Choosing the right microphone is not a one-step decision. It is a combination of research, testing and fine-tuning until the sound matches your expectations.
Not sure if a microphone suits your setup? Use our Mic Test Tool to check how your microphone performs before using it for real recordings.
Test Your Microphone